Building a swimming pool and tiling it with glass mosaics yourself is an ambitious project
I’ll focus on quantity estimation and design specifically, while touching on the critical technical requirements that make or break a DIY pool tiling job.
1. Calculating the Quantity of Glass Mosaic
Glass mosaic tiles are typically sold in sheets (e.g., 30×30 cm, 32×32 cm, or 30×60 cm). Small individual tesserae (1–2.5 cm) are pre‑attached to a mesh backing. Your goal is to determine how many square metres of coverage you need, then add a waste factor.
Step 1 – Measure all surfaces to be tiled
A pool has several tiled surfaces:
Pool floor (plan area, accounting for slope to the drain)
Pool walls (perimeter × height, minus any steps/benches if those areas are counted separately)
Waterline band (often a decorative band, may use different tile)
Steps, benches, sun shelves (horizontal and vertical surfaces)
Spillovers, spa areas, or surrounding wet edges if applicable
Measure accurately: For rectangular pools, calculate wall area as: (length of wall × water depth) × 2 (for two long walls) (width of wall × water depth) × 2 (for two short walls)
For freeform pools, break the surface into manageable sections (e.g., straight segments for walls, a grid for the floor) and sum the areas.
Step 2 – Account for waste
Glass mosaics break, sheets need cutting, and you will have odd‑shaped areas. Add 10–15% waste for simple rectangular pools; for freeform or pools with many curves and steps, add 15–20%.
Step 3 – Convert to sheets
If a sheet covers, say, 0.09 m² (30×30 cm), divide your total square metres (including waste) by 0.09. Round up to the nearest whole sheet.
Always order a few extra sheets from the same production batch to avoid colour variation.
Step 4 – Check manufacturer’s coverage
Some mosaics are sold by kg or box with a stated coverage per box. Always rely on the supplier’s data sheet.
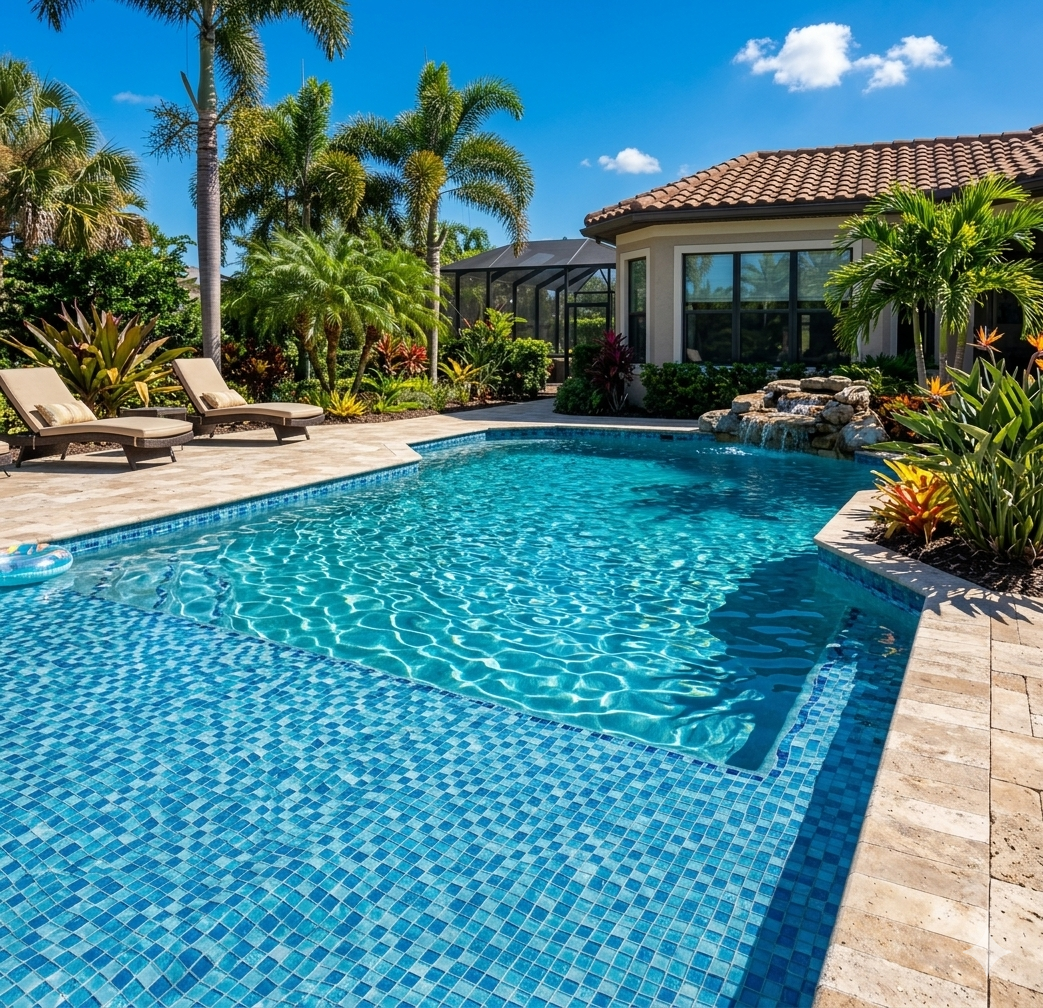
2. Design Considerations for a Glass Mosaic Pool
Glass mosaic in a pool is stunning but demands extra attention to aesthetics, safety, and durability.
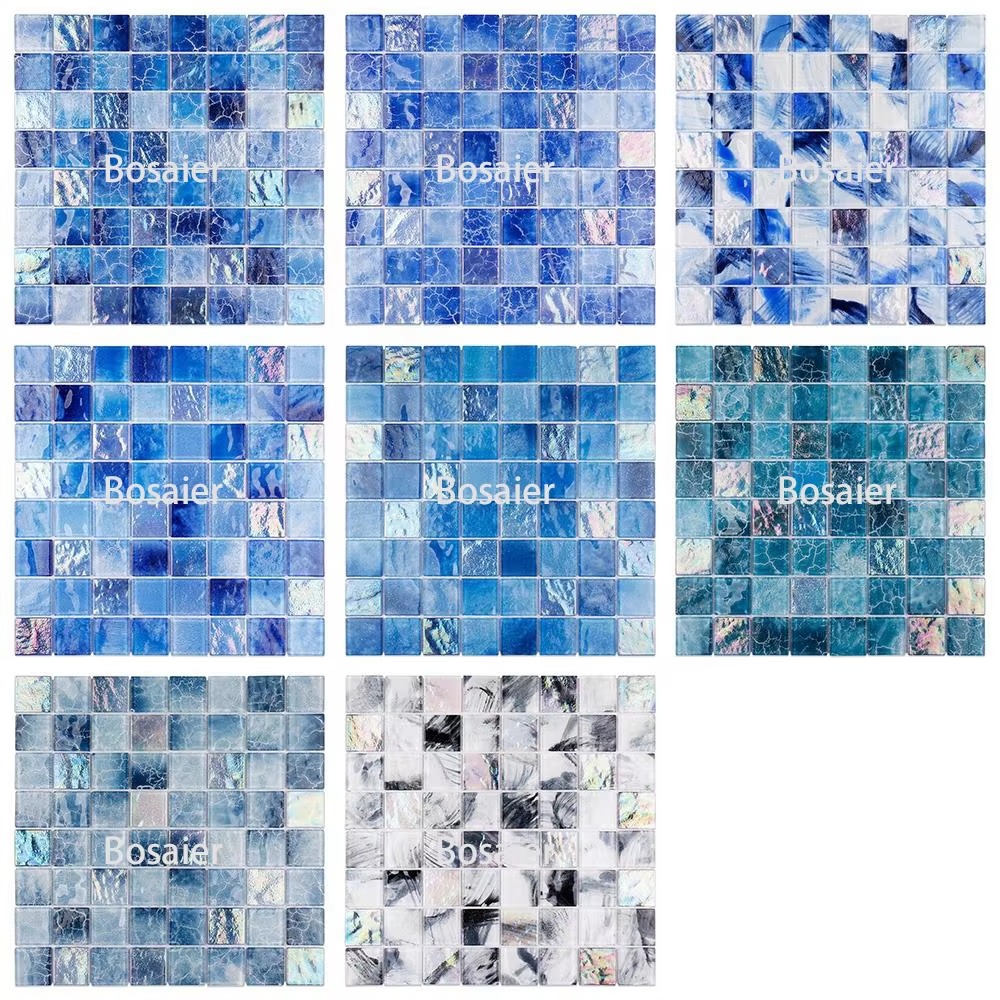
Color & Finish
Light colors (turquoise, light blue, white, sand) reflect sunlight and make the water appear brighter. They also hide waterline deposits better.
Dark colors (deep blue, black) absorb heat—water can become uncomfortably warm in hot climates and the tiles may feel hotter on steps.
Iridescent / metallic glass can be used as accents, but be cautious: some metallic coatings may degrade over time in chlorinated/salt water. Choose pool‑rated glass.
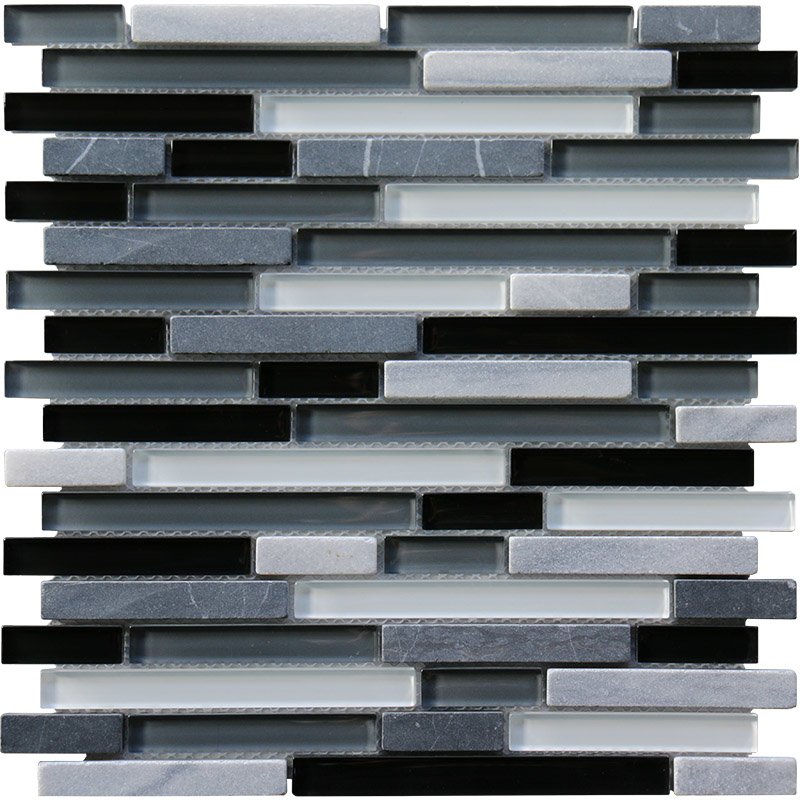
Glossy finish gives the classic “sparkle” but can be slippery when wet, especially on steps and floors. For horizontal surfaces, consider a matte or textured finish for slip resistance.
Pattern & Layout
Uniform field (one color throughout) creates a clean, lagoon‑like effect. Grout color matters: matching grout makes the surface look seamless; contrasting grout highlights the grid pattern.
Waterline band is a common accent: a 15–20 cm strip of contrasting color or pattern at the waterline. It’s both decorative and practical (hides scum lines).
Custom motifs (waves, borders, or mosaics depicting marine life) are possible with glass mosaic sheets because you can cut them into shapes and lay them like a puzzle. Sketch the design on a grid paper before starting.
3D mosaic sheets add texture but are harder to clean and can be uncomfortable underfoot. Use them on vertical walls only.
Grout
For pools, epoxy grout is non‑porous, resistant to chemicals, and does not need sealing. It is essential for glass mosaics because cementitious grouts can stain and may not adhere well to glass edges. Epoxy is trickier to work with but mandatory for longevity.
Choose grout color carefully:
Matching grout makes the tile field read as a continuous, fluid surface.
Contrasting grout emphasizes the grid pattern and can create a “mosaic tapestry” look.
3. Critical Technical Steps (Why They Matter for Quantity & Design)
Even if you have perfect quantity and design, the installation will fail if the pool structure and substrate are not prepared correctly.
Substrate & Waterproofing
The pool shell (concrete or gunite) must be cured, perfectly smooth, and coated with a waterproof membrane or bonding coat suitable for submerged applications.
Glass mosaics require a flexible, white thin‑set mortar (polymer‑modified) because glass expands/contracts differently than concrete. White mortar helps lighter colors pop.
Installation Process
Set the sheets using a notched trowel. Press them firmly so the mesh embeds without leaving voids.
Maintain consistent joints between sheets. The factory spacing inside a sheet is usually 2–3 mm; the joint between sheets should match that.
Cut sheets for curves, skimmers, returns, and lights using nippers or a wet saw with a glass blade. For intricate cuts, you can remove individual tesserae from the sheet and set them by hand.
Grout with epoxy after the mortar has fully cured (usually 24–48 hours). Use a rubber float and work the epoxy thoroughly into all joints. Clean off excess before it hardens.
Curing & Filling
Epoxy grout must cure fully (consult manufacturer’s instructions) before the pool is filled.
Never fill the pool immediately after tiling—allow the mortar and grout to reach full strength to avoid cracking from hydrostatic pressure.
Please fill your contact information first and download
Glass mosaic, Murals, stone mosaic
already 1 902 messages
MOSAIC TILE 10:12 AM, Today
hello this is Ivan we mainly make the glass mosaic tile, for interior walls and swimming pools there are many different models, it's suitable for projects and wholesale leave us message and we will send you the catalog and quotation.